Using Burp Suit with emulator Is a very challenging Task Because it take me Over 6-10 Hours To Do This Task And I will Also Give you The Problems Solution Which I Faced During This Task. Without wasting any other time lets do this First of all Below I have Given All The Download Links Which will Be Required Here.
Download Links:
STEP 1 (SETTING UP ENVIRONMENT)
First Paste the ADB Tools ZIP File(ADB TOOLS) in the C Directory It Should Look Like This (C:\ADB).
Now all The Tools Should be Inside This Directory as Shown in Image.

Now Your ADB Environment is Setup Complete Now I am Letting That You Have Already Installed the Nox Emulator in Your PC In This Case We are Using Big Nox Version 7.0.6.1 12/08/2024.
Now Click on Path as shown below and then press backspace now type CMD here and press enter Now Keep This terminal open for future don’t close it.

Now CMD Setup is done Next is Connecting proxy with emulator.
Connecting proxy With Emulator
First Go to your Wi-Fi setting and Long Press on the Connected Network You will see two options as given below.

Click On Modify Network and you will see a proxy option and drop-down menu below it, Now you just have to select manual from drop down menu and enter the proxy In The Proxy Hostname Enter Your ipv4 Ip address you can check your ipv4 address by entering ipconfig in your CMD.

Now In Ip Port Enter 8080 and without any other change Just Click on Save.
Now Your Proxy is set up In The Burp Suit Go to your Proxy setting and Click on edit and select All Interfaces and then save it.

Now You Must Have to check the connection in Nox type this URL In The Big Nox any browser http://burp when you enter you must see this window.
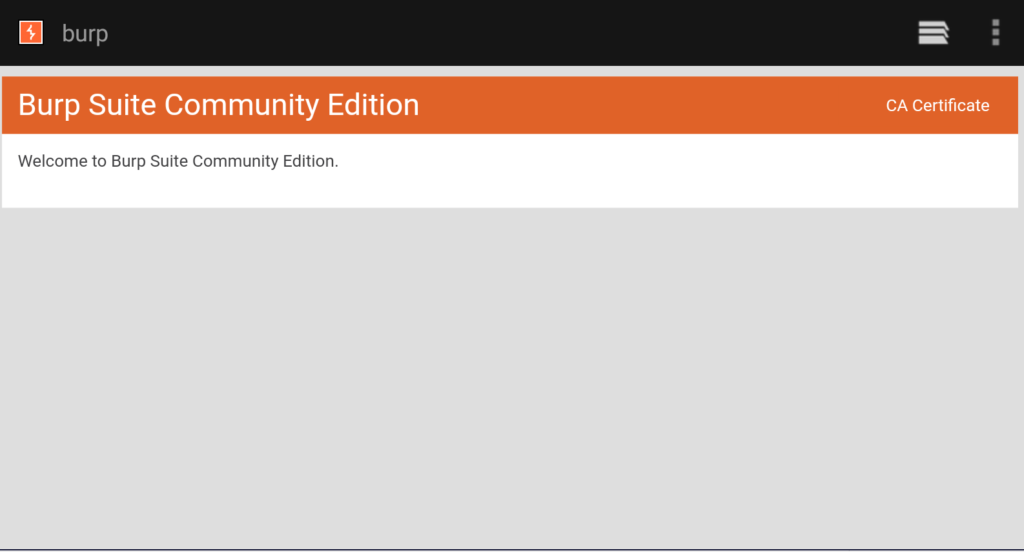
It Means Your Proxy is connected with Burp Suit
Make sure that You have enabled root in Nox Before Entering commands
Installing CA Certificate In Emulator With Burp Suit
Now It’s the most crucial steps if you forget anything certificate will not get installed. Follow Step By Step
Step 1:- We Opened a ADB CMD Window Already in CMD SETUP Section Now first connecting Now with ADB First Enable Developer Options In Nox and Enable USB debugging after enabling USB debugging follow step 2.(Make sure that You have enabled root in Nox Before Entering commands.)
Step 2:- Now Enter This Command In CMD.
adb connect 127.0.0.1:62001Now After Connecting write this command to check its connected or not.
adb devicesIt will Show a device If connected Anybody it will blank.
Now write This command.
adb shell // after Entering this command write
su       // Now Its done
Now Before Moving to Installation first download certificate from here http://burp in you pc downloads and then move it into ADB Tools For which is in C:\ADB Now After Pasting. Download The Open SSL Tool and then Open You CMD another CMD window In The ADB Folder.
Note:- while Installing Open SSL Select (OpenSSL DLLs to the Windows system directory).
NOTE:- After Installing Add Bin folder of Open SSl In system Variables Path.(add It to system variable path C:\Program Files\OpenSSL-Win64\bin)
Now Paste This Command In Second Terminal.
openssl x509 -inform DER -in burp.der -out burp.pemAnd Then Paste This Command.
openssl x509 -inform PEM -subject_hash_old -in burp.pemIts Now Will Give You Output Like This.
9a5ba575 /This Is output4️⃣ Rename the Certificate
You need to rename burp.pem to match the hash (with .0 extension):
rename burp.pem 9a5ba575.0(Replace 9a5ba575 with the hash generated in step 3.)
Now Your certificate is ready to be Installed In Your emulator.
Now Paste This Command In Your ADB Folder second Terminal.
adb push 9a5ba575.0 /sdcard/Now Paste This Command(Before Pasting below command Exit Both CMD Window and then reopen them) In Your First CMD Terminal where we Connected the Nox Emulator.
mount -o remount,rw /systemThen Paste This Command:-
mv /sdcard/9a5ba575.0 /system/etc/security/cacerts/To double-check, run this command in your terminal:
ls -l /system/etc/security/cacerts | grep 9a5ba575.0If your Output is Like This
d2q:/ # ls -l /system/etc/security/cacerts | grep 9a5ba575.0
-rw-r--r-- 1 root sdcard_rw 1352 2025-02-13 16:00 9a5ba575.0
d2q:/ #
Then You will Need To Make It root root to do this follow below commands:-
mount -o remount,rw /systemChange ownership to root:root:
chown root:root /system/etc/security/cacerts/9a5ba575.0Remount /system back to read-only (for safety):
mount -o remount,rw /systemVerify permissions again:
ls -l /system/etc/security/cacerts | grep 9a5ba575.0If the ownership is now root root, then everything is fully correct. ✅
Thank You For your cooperation I have a Great Time with you guys Bye.